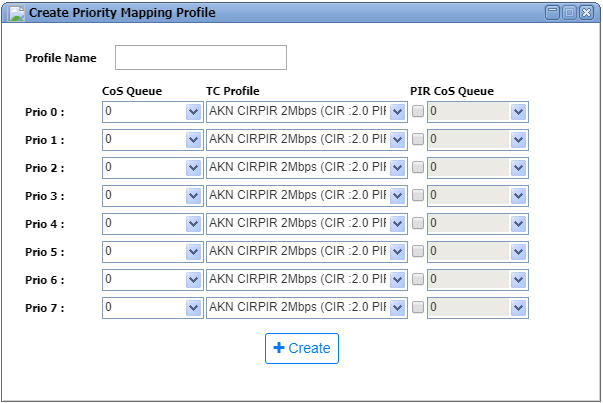
Perform the following steps to create a Priority mapping profile:

Create Priority Mapping Profile parameters
Parameter |
Description |
Default Value |
Acceptable Values |
|---|---|---|---|
Profile Name |
Enter a unique name for the priority mapping profile. Profile name should begin with an alphabet. |
-- |
Alphanumeric characters. Unsupported characters includes $, &, *, |,<, > |
Prio 0 to Prio 7 |
Displays the priority value from 0 to 7. |
-- |
-- |
CoS Queue |
Select the desired CoS value from the drop down list for the corresponding Prio value. |
0 |
0 to 7 |
TC Profile |
Allows you to select the TC Profile created at TJ5500. |
-- |
List of profiles |
PIR |
Select the check box if the user desires to send the PIR traffic with a particular priority over a specific CoS Queue. |
-- |
-- |
CoS Queue |
Select the desired CoS value from the drop down list. This option is editable only when PIR check box is selected. |
0 |
0 to 7 |