![]()
![]()
![]()
![]()
|
|
|
|
|
The System Utilities feature menu contains links to Web pages that help you configure features that help you manage the switch.
Save All Applied Changes
When you click Submit, the changes are applied to the system and saved in the running configuration file. However, these changes are not saved to non-volatile memory and will be lost if the system resets. Use the Save All Applied Changes page to make the changes you submit persist across a system reset.
To access the Save All Applied Changes page, click System > System Utilities > Save All Applied Changes in the navigation menu.
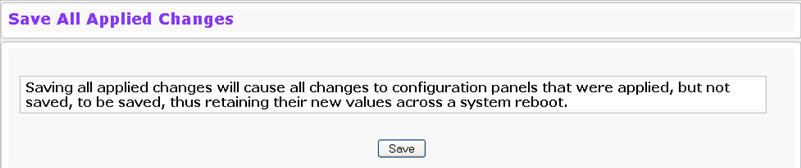
Click Save to save all changes applied to the system to NVRAM so that they are retained if the system reboots.
System Reset
Use the System Reset page to reboot the system. If the platform supports stacking, you can reset any of the switches in the stack, or all switches in the stack from this page.
To access the System Reset page, click System > System Utilities > System Reset in the navigation menu.
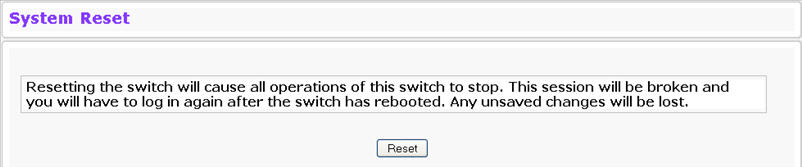
For Stacking platforms, you can select one or all switches in the stack to reset from the drop-down menu. For platforms that do not support stacking, this field is not present. Click Reset to initiate the system reset. If you have not saved the changes that you submitted since the last system reset, the changes will not be applied to the system after the reset.
Reset Configuration to Defaults
Use the Reset Configuration to Defaults page to reset the system configuration to the factory default values.
NOTE: By default, the switch does not have an IP address, and the DHCP client is disabled. When you reset the system to its default values, you will not be able to access the Web interface until you connect to the CLI through the serial port and configure network information.
To access the Reset Configuration to Defaults page, click System > System Utilities > Reset Configuration to Defaults in the navigation menu.
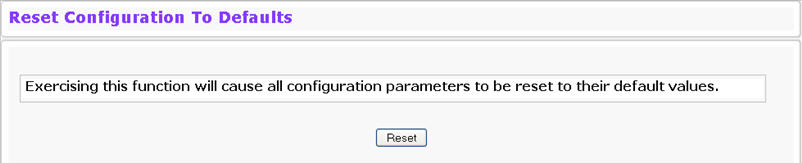
Click Reset to restore the factory default settings. The screen refreshes and asks you to confirm the reset. Click Reset again to complete the action.
Erase Startup Config File
Use the Erase Startup Config File page to erase the text-based configuration file stored in non-volatile memory. A confirmation screen displays after you select the Erase button. To access the Erase Startup Config File page, click System > System Utilities > Erase Startup Config File in the navigation menu.

Click Erase to initiate the process.
Reset Passwords to Defaults
Use the Reset Passwords to Defaults page to reset the passwords for the default read/write (admin) and readonly (guest) users on the system. By default, the passwords are blank. If you have configured additional readonly users on your system, their passwords are not affected.
To access the Reset Passwords to Defaults page, click System > System Utilities > Reset Passwords to Defaults in the navigation menu.

Click Reset to restore the passwords for the default users to the factory defaults.
NOTE: When the password for the read/write user (admin) changes, you must re-authenticate with the username and default password.
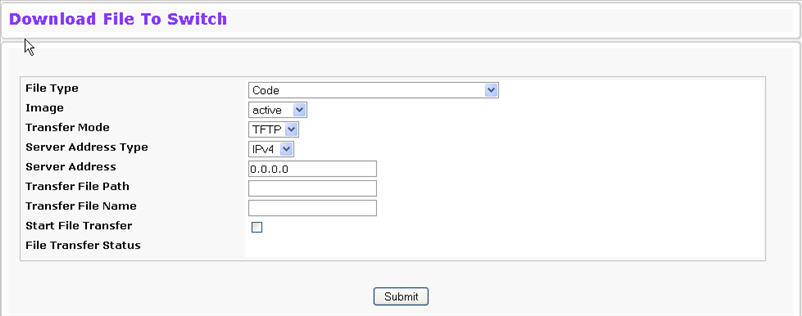
Download File To Switch (TFTP)
Use the Download File to Switch page to download device software, the image file, the configuration files, and SSH or SSL files from a TFTP server to the switch. You can also download files through HTTP.
To access the Download File to Switch page, click System > System Utilities > Download File to Switch in the navigation menu.
Download File to Switch Fields
Field |
Description |
|---|---|
File Type |
Specify what type of file you want to download to the switch:
|
Image |
Specify the code image you want to download, either active or backup. This field is only visible when Code is selected as the File Type. The factory default is active |
Transfer Mode |
Specifies the protocol to be used for the transfer: TFTP, SFTP, or SCP. |
TFTP Server Address Type |
Specify either IPv4,IPv6, or DNS address to indicate the format of the TFTP Server Address field. The factory default is IPv4. |
TFTP Server Address |
Enter the IP address of the TFTP server in accordance with the format indicated by the TFTP Server Address Type. The factory default is the IPv4 address 0.0.0.0. |
TFTP File Path |
Enter the path on the TFTP server where the selected file is located. You may enter up to 32 characters. The factory default is blank. |
TFTP File Name |
Enter the name of the file you want to download from the TFTP server. You may enter up to 32 characters. The factory default is blank. |
Start File Transfer |
To initiate the download, check this box before clicking Submit. |
File Transfer Status |
Displays the status of file transfer operation. |
Downloading a File to the Switch
Before you download a switch to the file, the following conditions must be true:
Use the following procedures to download a file from a TFTP server to the switch.
NOTE: It is recommended that you not overwrite the active image.
Upload File From Switch (TFTP)
Use the Upload File from Switch page to upload configuration (ASCII) and image (binary) files from the switch to the TFTP server. To display the Upload File from Switch page, click System > System Utilities > Upload File from Switch in the navigation menu.
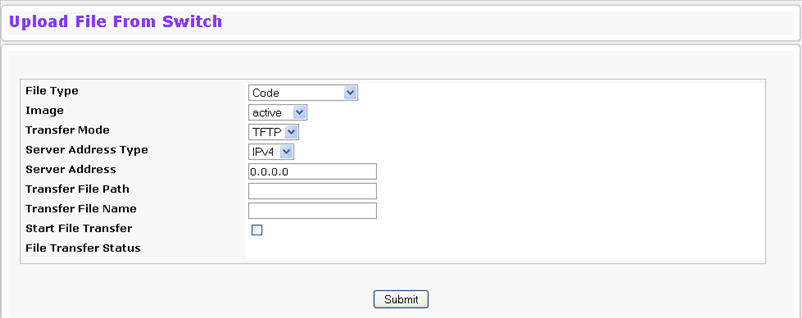
Upload File from Switch Fields
Field |
Description |
|---|---|
File Type |
Specify what type of file you want to upload:
|
Image |
Specify the code image to upload, either active or backup. This field is only visible when Code is selected as the File Type. The factory default is active. |
Transfer Mode |
Specifies the protocol to be used for the transfer: TFTP, SFTP, or SCP. |
TFTP Server Address Type |
Specify either IPv4 or IPv6 address to indicate the format of the TFTP Server Address field. The factory default is IPv4. |
TFTP Server Address |
Enter the IP address of the TFTP server in accordance with the format indicated by the TFTP Server Address Type. The factory default is the IPv4 address 0.0.0.0. |
TFTP File Path |
Enter the path on the TFTP server where you want to put the file. You may enter up to 32 characters. The factory default is blank. |
TFTP File Name |
Enter a destination file name for the file to upload. You may enter up to 32 characters. The factory default is blank. |
Start File Transfer |
To initiate the file upload, check this box before clicking Submit. |
File Transfer Status |
Displays the status of file transfer operation. |
Uploading Files
Use the following procedures to upload a file from a TFTP server to the switch.
Copy Configuration Files
Use the Copy Configuration Files page to overwrite the startup or backup file with another configuration file. To display the Copy Configuration Files page, click System > System Utilities > Copy Configuration Files in the navigation menu.

Copy Configuration Files Fields
Field |
Description |
|---|---|
Source File |
Specify the file to use as the source file. This file will overwrite the file you select as the destination file. The available options are:
|
Source File |
Specify the file to use as the destination file. This file you select as the source overwrites this file. The available options are:
|
Command Buttons
This page has the following command buttons:
Dual Image Configuration
The system maintains two versions of the TejNOS-EN software in permanent storage. One image is the active image, and the second image is the backup image. The active image is loaded during subsequent switch restarts. This feature reduces switch down time when upgrading/downgrading the TejNOS-EN software. The system running an older software version will ignore (not load) a configuration file created by the newer software version. When a configuration file created by the newer software version is discovered by the system running an older version of the software, the system will display an appropriate warning to the user.
Use the Dual Image Configuration page to set the boot image.
To display the Dual Image Configuration page, click System > System Utilities > Dual Image Configuration in the navigation menu.
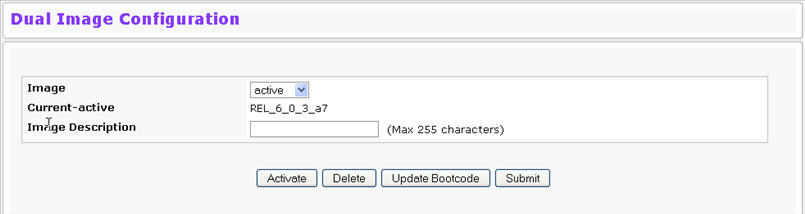
Dual Image Configuration Fields
Field |
Description |
|---|---|
Unit |
To change the image on a stack member, select the unit number of the member. |
Image Name |
Select the active or backup image version from the drop-down menu to display or configure information about that software image. |
Current Active |
Displays name of current active image. |
Image Description |
If desired, enter a descriptive name for the software image. |
Command Buttons
This page has the following command buttons:
NOTE: After activating an image, you must perform a system reset of the switch in order to run the new code.
HTTP File Download
Use the HTTP File Download page to download files of various types to the switch using an HTTP session. To display this page, click System > System Utilities > HTTP File Download in the navigation menu.
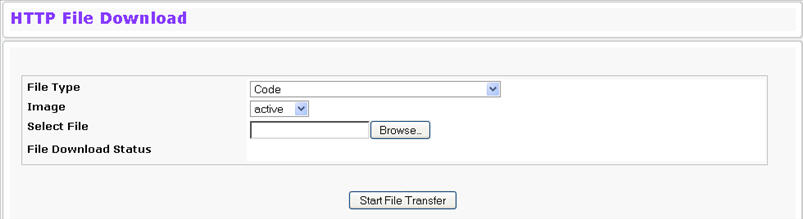
HTTP File Download Fields
Field |
Description |
|---|---|
File Type |
Specify the type of file you want to download:
|
Image Name |
Specify the code image you want to download, either active (the default) or backup. This field is only visible when Code is selected as the File Type. |
Select File |
Enter the path and filename or browse for the file you want to download. You may enter up to 80 characters. |
Click Start File Transfer to initiate the file download.
Ping
Use the Ping page to tell the switch to send a Ping request to a specified IP address. You can use this feature to check whether the switch can communicate with a particular network host. To access the Ping page, click System > System Utilities > Ping in the navigation menu.
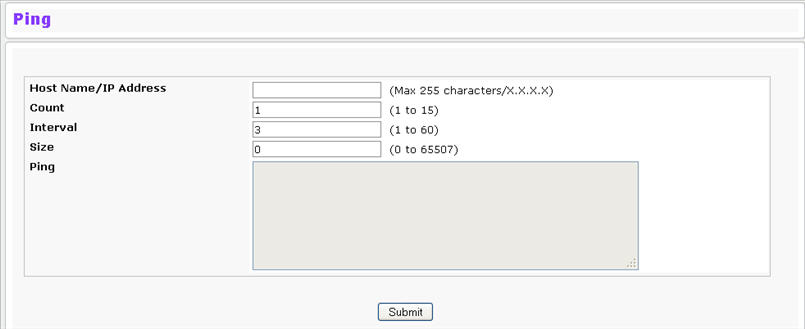
Ping Fields
Field |
Description |
|---|---|
Hostname/IP Address |
Enter the IP address or the host name of the station you want the switch to ping. The initial value is blank. This information is not retained across a power cycle. |
Count |
Specify the number of pings to send. |
Interval |
Specify the number of seconds between pings sent. |
Size |
Specify the size of the ping packet to send. |
Ping |
Displays the results of the ping. |
Click Submit to send the ping. If successful, the results are displayed.
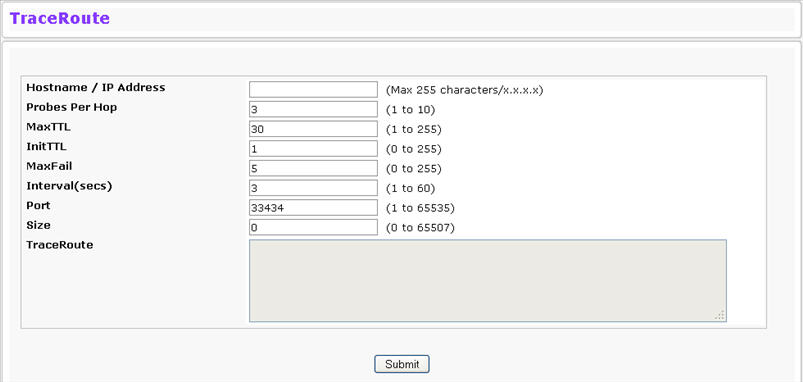
TraceRoute
You can use the TraceRoute utility to discover the paths that a packet takes to a remote destination. To display this page, click System > System Utilities> TraceRoute in the navigation menu.
TraceRoute Fields
Field |
Description |
|---|---|
Hostname/IP Address |
Enter the IP address or the hostname of the station you want the switch to discover path for. |
Probes Per Hop |
Enter the number of times each hop should be probed. |
MaxTTL |
Enter the maximum time-to-live for a packet in number of hops. |
InitTTL |
Enter the initial time-to-live for a packet in number of hops. |
MaxFail |
Enter the maximum number of failures allowed in the session |
Interval |
Enter the time between probes in seconds |
Port |
Enter the UDP destination port in probe packets |
Size |
Enter the size of probe packets |
TraceRoute |
Displays the output from a traceroute. |
Click Submit to initiate the traceroute. The results display in the TraceRoute box.
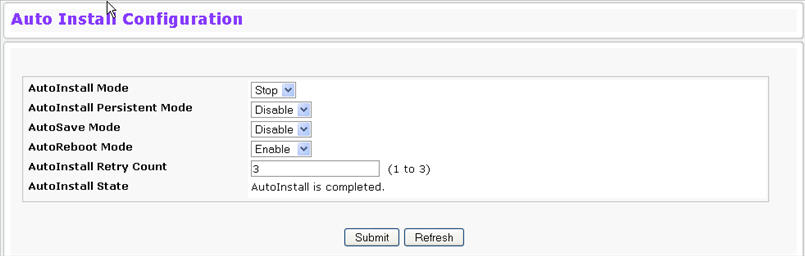
AutoInstall
The AutoInstall feature enables the configuration of a switch automatically when the device is turned on and, during the boot process, no configuration file is found in device storage. By communicating with a DHCP server, AutoInstall obtains an IP address for the switch and an IP address for a TFTP server. AutoInstall attempts to download a configuration file from the TFTP server and install in on the switch.
The DHCP server that the switch communicates with must provide the following information:
After obtaining IP addresses for both the switch and the TFTP server, the AutoInstall feature attempts to download a host-specific configuration file using the boot file name specified by the DHCP server. If the switch fails to obtain the file, it will retry indefinitely.
To display the AutoInstall page, click System > System Utilities> AutoInstall.
AutoInstall
Field |
Description |
|---|---|
AutoInstall Mode |
Select Start to initiate sending a request to a DHCP server to obtain an IP address of a server and the configuration file name. If it obtains the server address, AutoInstall proceeds to search for and download a configuration file from the server. If successful, it applies the configuration file to the switch. After starting the AutoInstall process, you can monitor the status of the process by the messages in the AutoInstall State and Retry Count fields. You can click Stop to end the process. |
AutoSave Mode |
Enable or disable saving the network configuration to non-volatile memory. When enabled, the configuration is saved after downloading from the TFTP server without operator intervention. When disabled, the operator must explicitly save the configuration, if needed. |
Retry Count |
The number of times the switch has attempted to contact the TFTP server during the current AutoInstall session. |
AutoInstall State |
The status of the current or most recently completed AutoInstall session. |
Click Refresh to display the most recently configured AutoInstall state from the switch.